The long-awaited HUMAN 81 DK is now available.
Best viewed in "landscape" mode.
202/250 Kit: Story and Photographs
Back to the K-202 page
In early 2012 I sold my pair of EPI 250s (which are basically identical to EPI 202s). While I certainly enjoyed the money and the happy customer, I really missed them. Their design, with a woofer and tweeter on two adjacent sides, worked very well in my dining room/kitchen area. This is an "L"-shaped space shaped like a 24 foot square that is missing a 12 foot square out of one corner (the bathroom), with a ceiling that slopes from about 6 feet at the back wall to about 9 feet. The speakers in this space have to do two things well - fill the entire area with great sound (especially the kitchen), and provide equally great sound where I often sit at my table, which is roughly in the center of the 12 foot square at the corner of the L.
That seat is hard to set up well. I replaced the 250s with an early demo pair of 81+s, and had to toe them in drastically. They are placed about 10 feet apart and I am sitting about 4-5 feet from the line that intersects them - far from ideal. They do the job, but I miss the spaciousness of the 250s.
So I designed a pair of replacements, in larger boxes to get a lower, flatter bass response. They were to be 36 by 12 by 12 inches on the inside, held together with 1 by 1 MDF cleats all around the inside, and would have real wood outside corner trim. I ordered one 4 by 8 foot sheet of 1 inch MDF (expensive!) and managed to get about 50 feet of true 1 by 1 inch native red oak milled for me (expensive and lucky!).
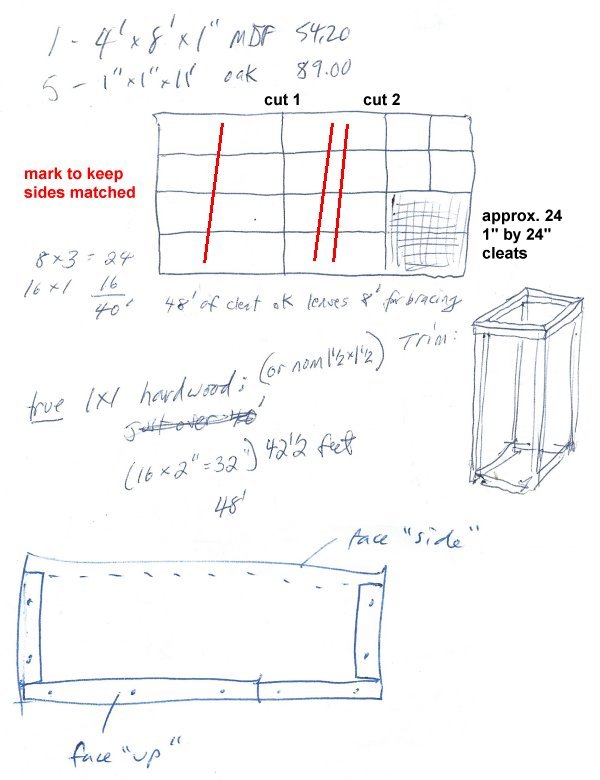
In the summer of 2013 I had a carpenter friend slice up the MDF in my parking lot, marking each set of four sides in case their heights might be slightly different.
Finally in the late summer of 2014 I thought it might be time to start actually building them while I could still find my plans.
I made a few changes to the original design besides the box size - both Winslow and I agreed that the tweeters should be as close together as possible, and I did pretty much the same thing with the woofers.
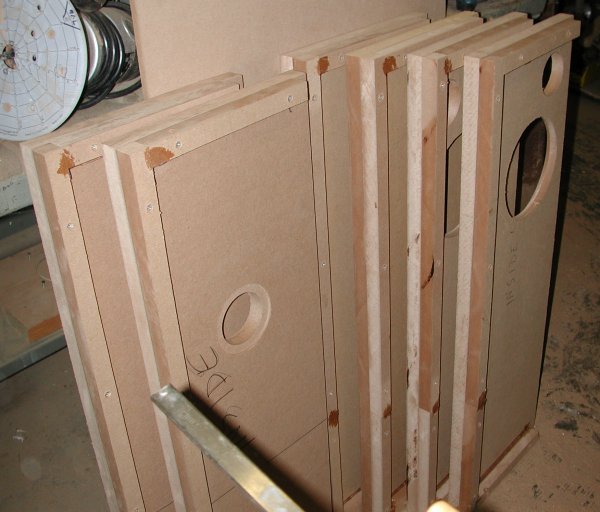
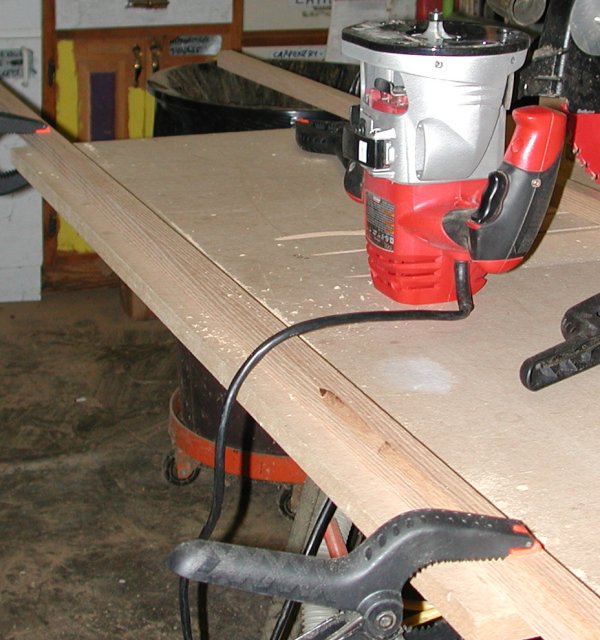
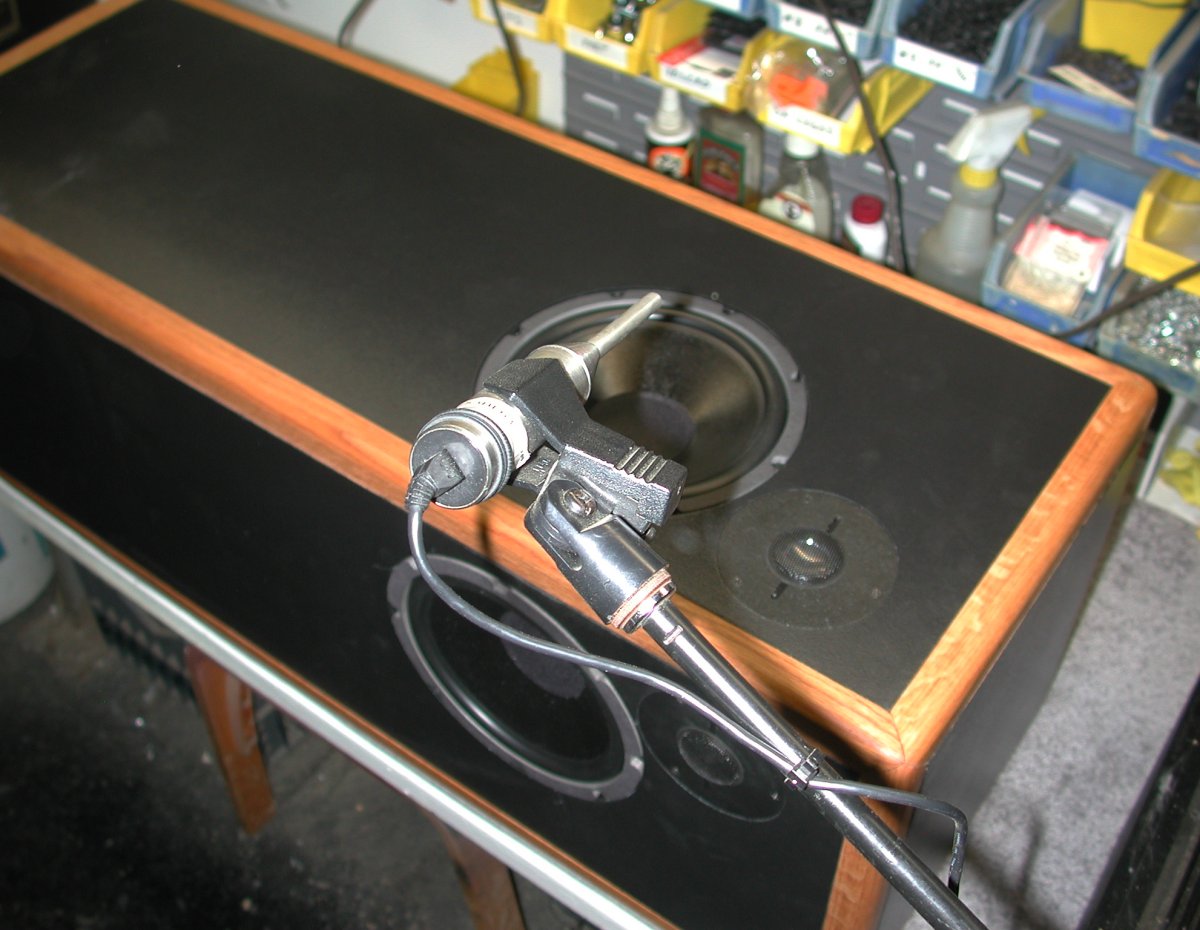
First I drew, cut, and rabbeted the holes in the front panels and one rear panel for each side, using a 3 inch "big hawg" hole saw and three routers (one for the woofer through holes, one for the rabbeting, and one for the tweeter ears).
Then I glued and screwed 3 corner cleats to each panel, sealing the inside of each joint with silicone as I went.
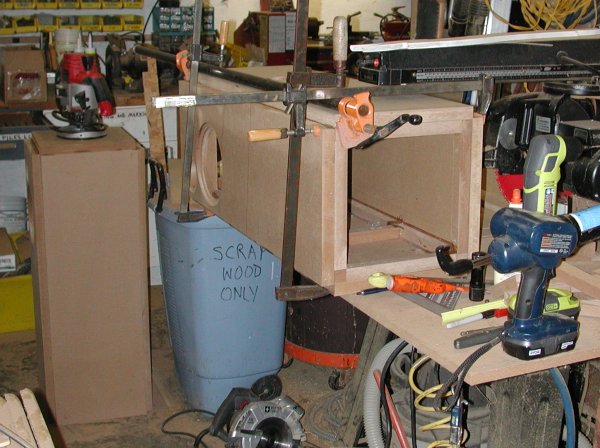
The next step was to glue, clamp, screw, and seal pairs of side panels together as square as I could possibly manage. I used the carriage of the radial arm saw to help tweak the position of the vertical side. (This is where the commercial for Ryobi 18v cordless tools starts.)
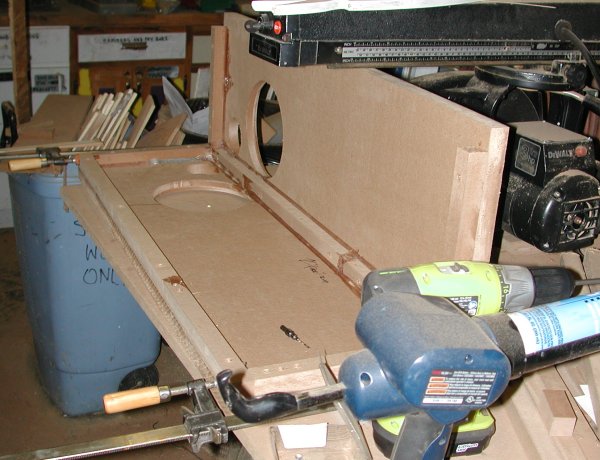
Then I glued, clamped, screwed, and sealed these assemblies together in pairs. I had to go to Home Depot and buy a right angle drill to install these "inside" screws. Luckily I ended up with two boxes each with two front sides and one blank and one terminal cup back.
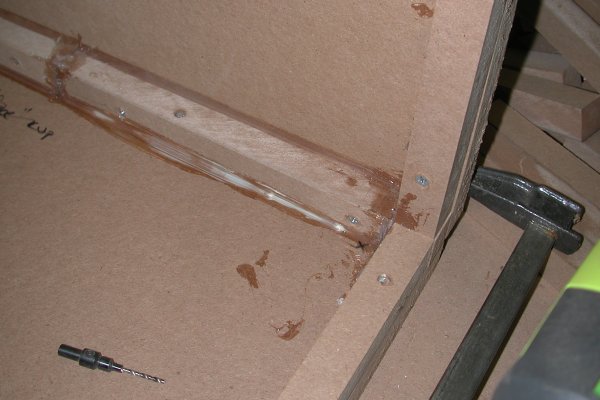
I screwed the lower rear joint in the photo, then used the long clamp to square up the top front joint while adding a couple more clamps. I put (unnecessary) screws in that joint after it dried.
I also finally remembered to cut the "ears" for the tweeter terminals.
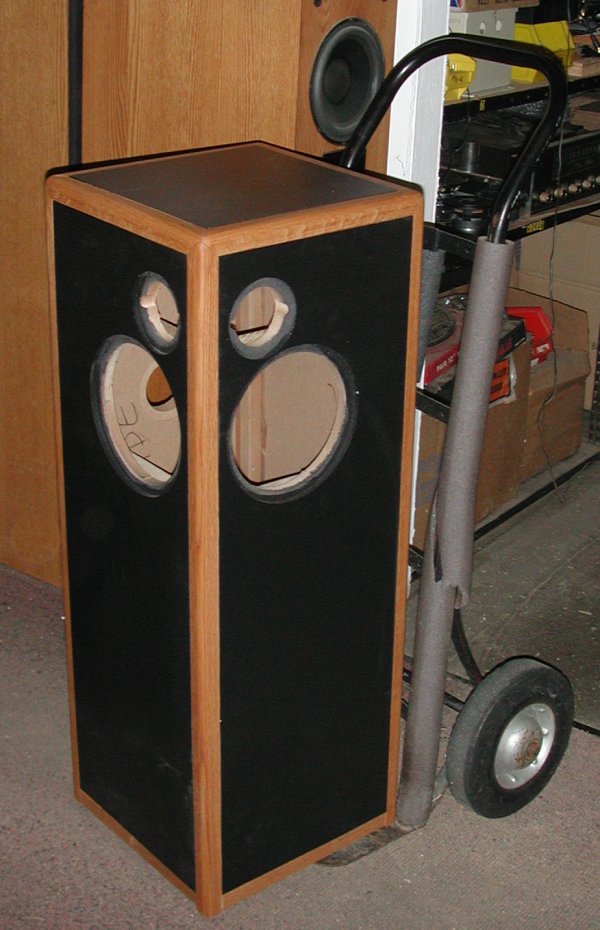
Then I carefully glued, sealed, and screwed on the tops, using a drill extension to drill the pilots and tighten the screws. The bottoms were glued and sealed and just weighted to dry, with four screws from the outside later for insurance. I also drilled holes in the bottoms and installed 1/4-20 insert nuts (I call them "nutserts" but no one else does) for levelling feet or spikes

Above, I have painted the bottoms and rear faces black to see how I feel about it. The grey "black" paint sure wasn't doing it for me. Below, I found more of the black paint I know and love and used it.
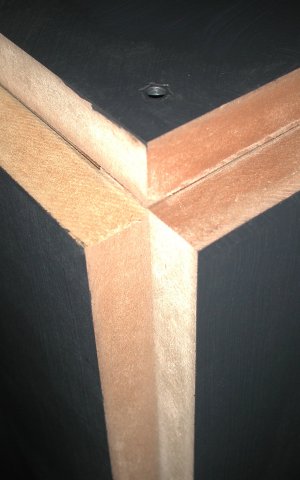
Now it's time to put a quarter round on the oak 1 x 1 pieces, sand them, and oil them:
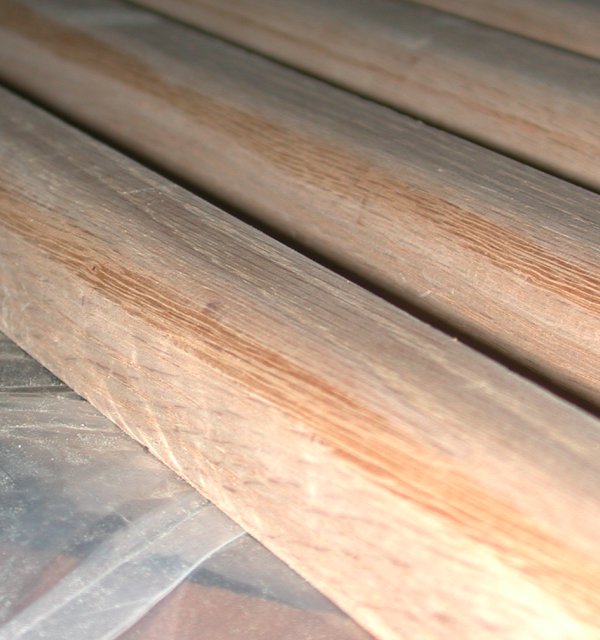
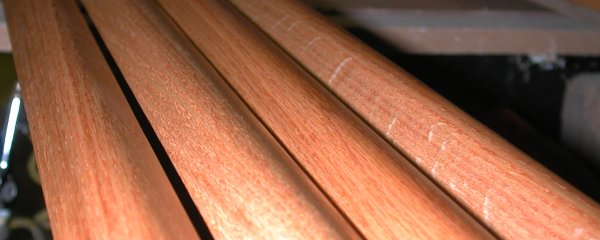
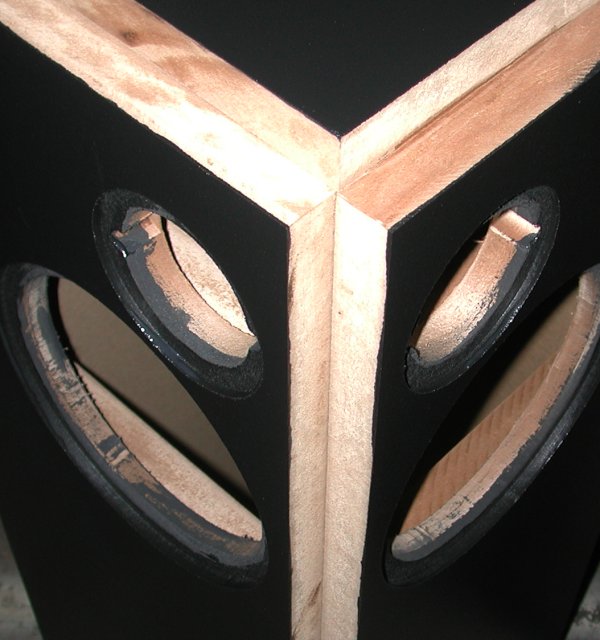
And now to cut some corners. In search of the perfect three-way:
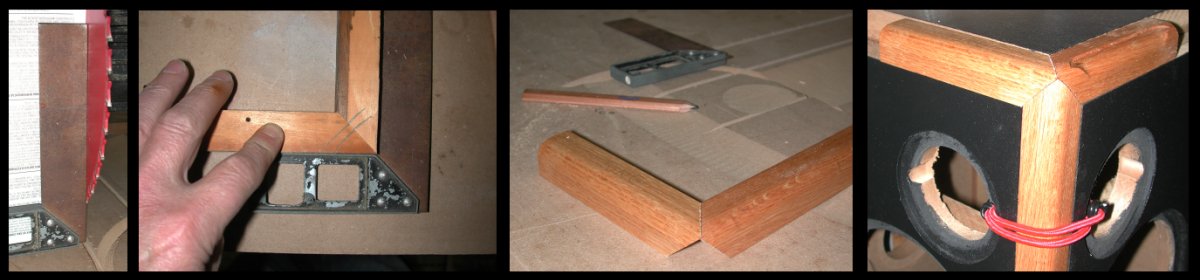
I sanded the corners down to extend the quarter-round effect into three dimensions, and oiled the raw, freshly exposed wood. The empty, finished cabinets weigh in at 66 pounds.
Then I built and tested them. Completed, they weigh 77 pounds each:
Now I am happily listening to them.
Total build time was about 50 hours, not counting making the woofers, tweeters, and crossovers.
* * *
Top - Contact
New Speakers -
EPI and Epicure - Genesis Physics
© Copyright - All Rights Reserved
![]()
Seven Kelsey Road, Lee, New Hampshire 03861
Prices can change and specifications will improve without notice