The long-awaited HUMAN 81 DK is now available.
Best viewed in "landscape" mode.
How to:
Install the ACC 004 (A,B,C)
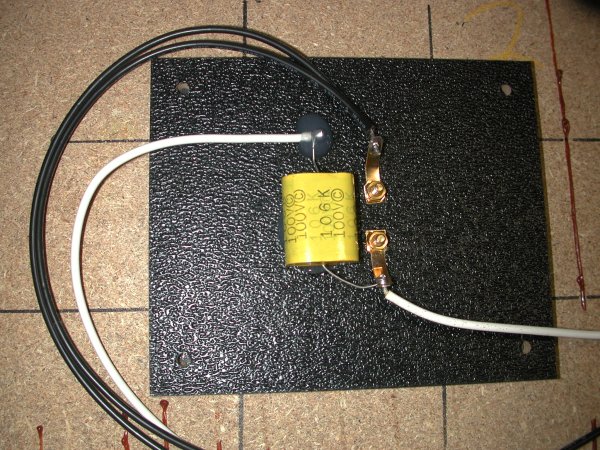
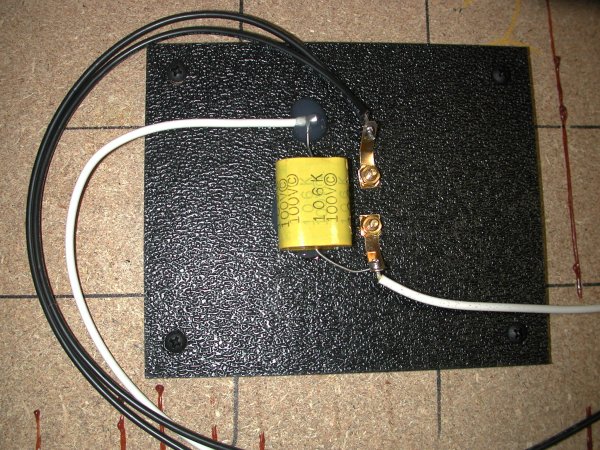
Here are a pair of ACC 004 A backplate/crossover assemblies ready to be used to upgrade a customer's speakers:
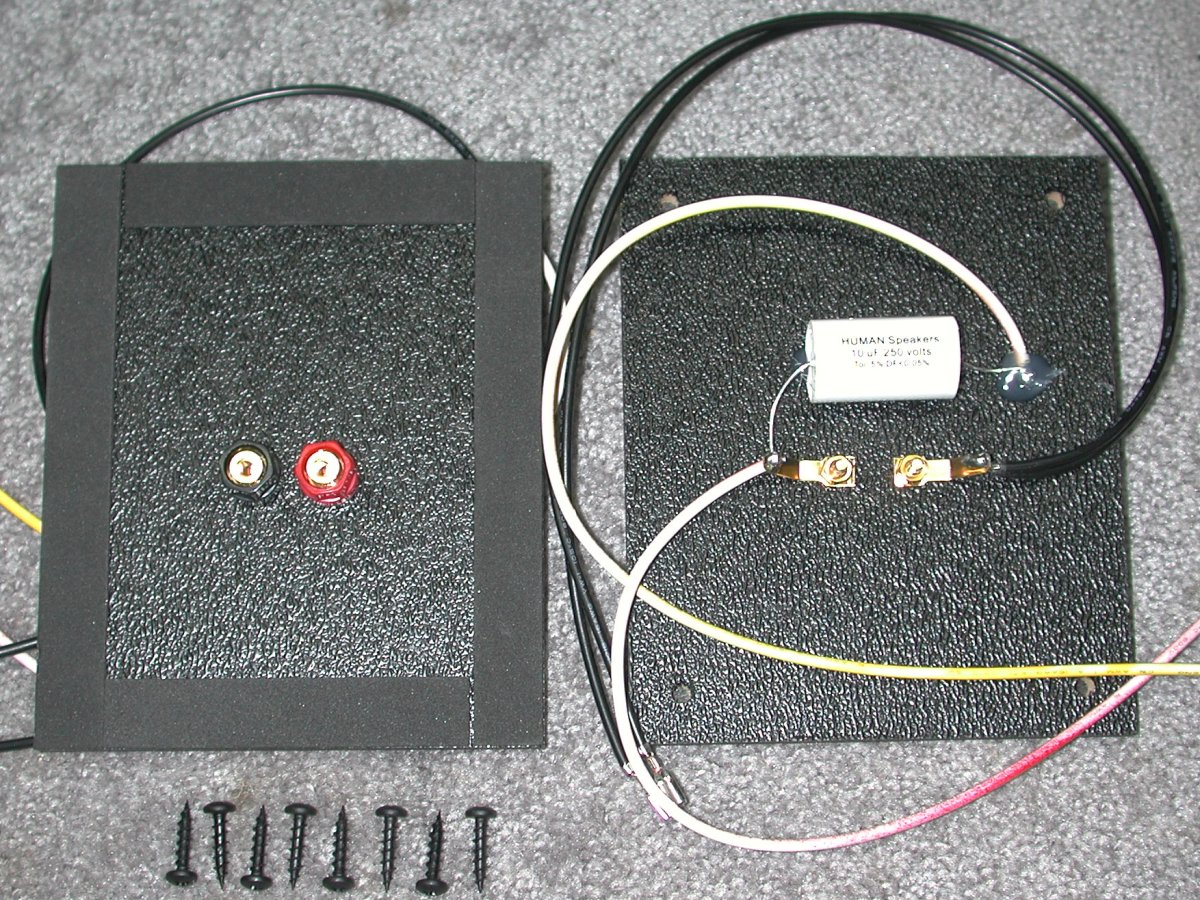
The ACC 004 (terminal and backplate only) installation is similar to this process, except that you will either have put your crossover components of choice and wires on it yourself, or, after installing, you will connect it to a separate crossover board mounted nearby inside the cabinet.
This work is performed best on a large, well-lit level surface, with a soft covering to protect the speaker box. Pick something that you won't get in trouble for using if it gets dirty or stained by glue, etc.
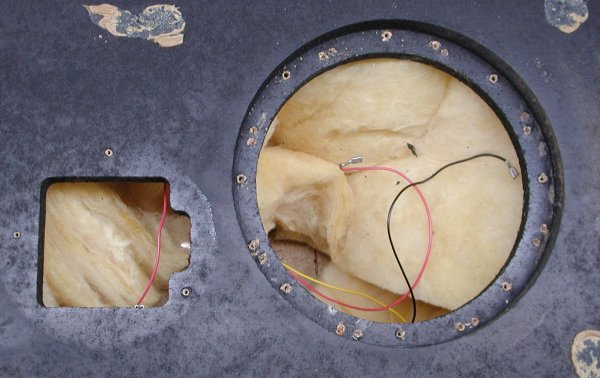
The first step is to carefully remove the speaker components and set them aside, then, remove the fiberglass stuffing.
 |  |
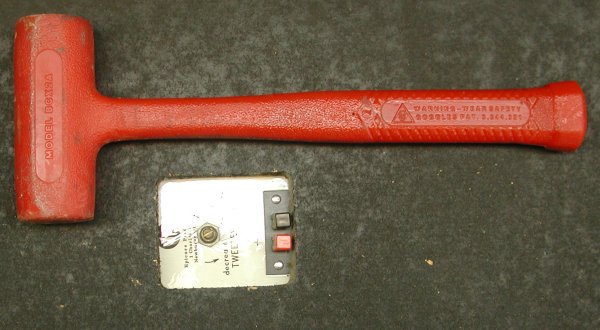
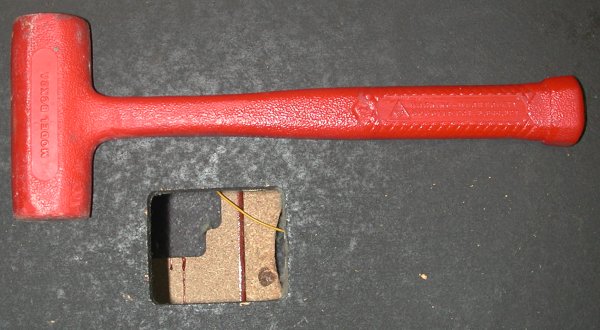
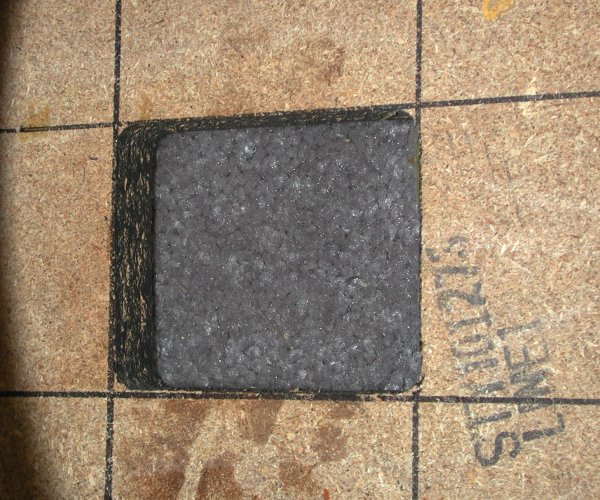
Turn the cabinet over so it is face down and knock out the old backplate with a few hammer blows.
 |  |
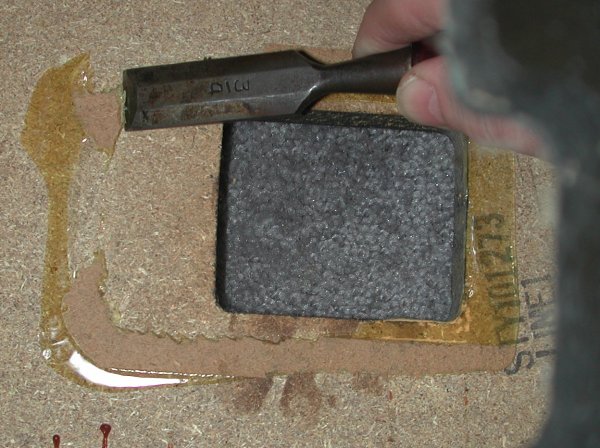
Turn the cabinet back face up again and use a chisel or similar tool to remove the old glue residue.
 | 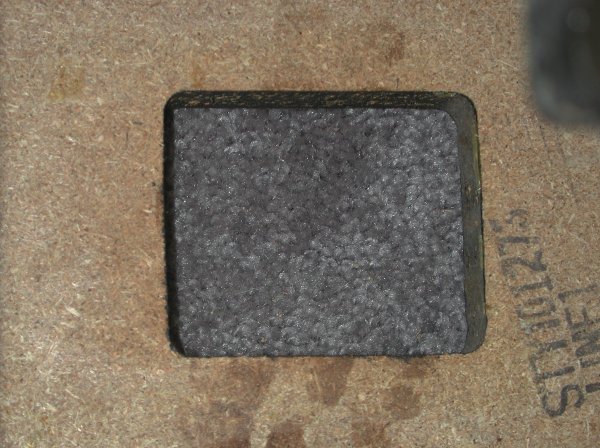 |
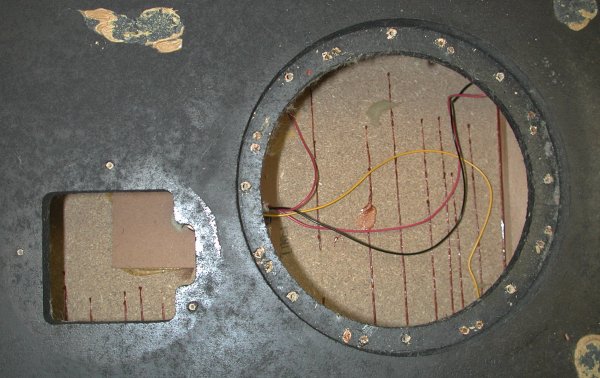
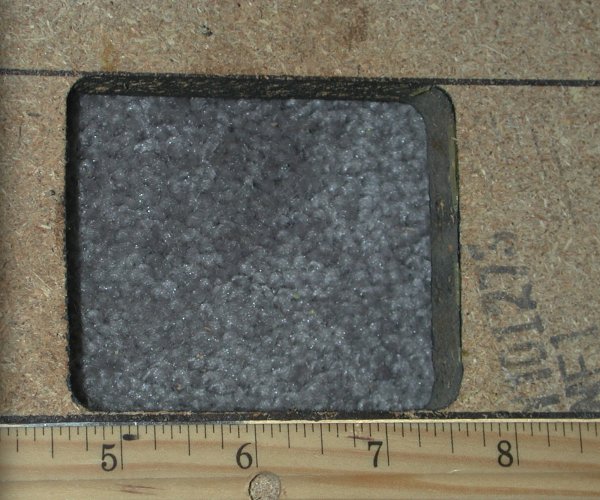
Next, draw some nice straight and true lines to indicate the location of the hole. In this case, simply extending the edges of the hole with a straightedge works fine. For a round or odd-shaped hole, a little more care is needed to keep these lines square/parallel with the edges of the cabinet.
 |  |
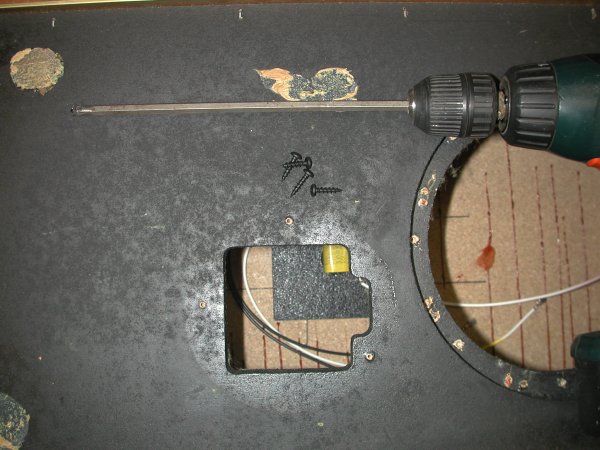
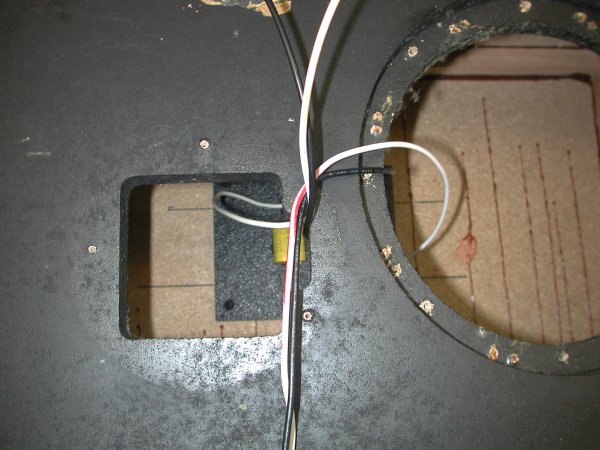
Now place the ACC 004 assembly over the hole, using the lines to align it neatly. Make sure that the chosen position allows the wires to reach through their appropriate holes far enough to be attached to the drivers. If you are using a hand screwdriver, you will definitely want to mark the screw hole locations and drill some small pilot holes (about 3/32", 1/4 to 3/8" deep) to help with the next step. If you are using a powered screwdriver, you will probably want to do what I have done here and obtain a long-shaft philips bit for it. The screws I provide will self-tap into particle board readily using a power tool.
Carefully screw the ACC 004 assembly into place. Not a lot of torque is required - all that is necessary is to gently compress the gasket material. I usually place my fingers on the board while driving the screws, and when I feel it move a little as it is pulled down by the screw, I stop and move to the next one.
 |  |  |
I use a consistent color scheme on speaker wires, which I inherited from my days at Genesis. Black is always "-", and is set up (usually) so it is common to all drivers. Red is for the woofer "+", yellow for the tweeter "+", and if there is a midrange, its "+" wire will be marked with green. In cases where confusion is possible, such as woofers wired in series, the pair of wires for any given driver will be zip-tied together.
Draw the wires through the speaker holes, and wrap them together, zip-tie them, or tape them in place so they don't get lost, then replace the fiberglass damping material, or use some other less irritating medium - I prefer polyester fiber fill, which is readily available at fabric stores and major department stores with hobbyist sections. The fiberglass goes in the attic.
 |  |
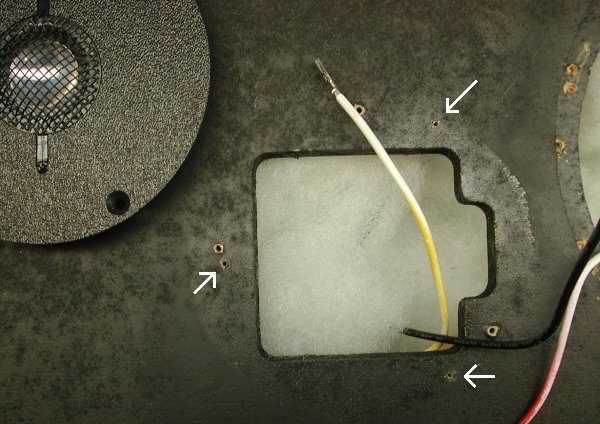
In the case of the speakers in this "how to" story, I was installing the HUMAN K81E in a pair of vintage EPI 150s. The new tweeter has a 120 degree screw pattern, while the old EPI masonite tweeters had a rather odd screw placement, so I drilled pilot holes for the tweeter first, making sure that my chosen placement covered all the old screw holes neatly.
You are now ready to attach the wires to the drivers, and carefully screw them back in place.
Test the speaker at a low level to make sure everything went together properly. Are the highs coming from the tweeter? Lows from the woofer? Nothing rattling or leaking air? Turn up the volume a bit, paying attention to the same things. Once a decent listening level has been reached, you should let everything "break in" for a bit, even overnight, and then start enjoying your upgraded speakers!
This is what the ACC 004 assemblies look like peeking out the back of the finished speaker:
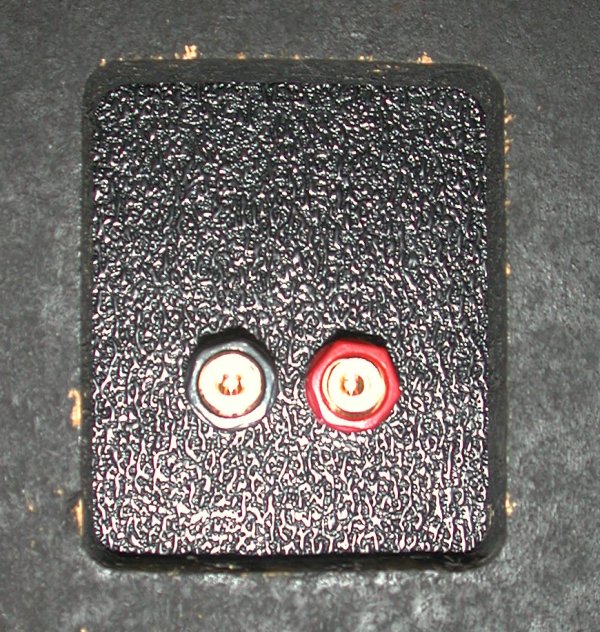 | 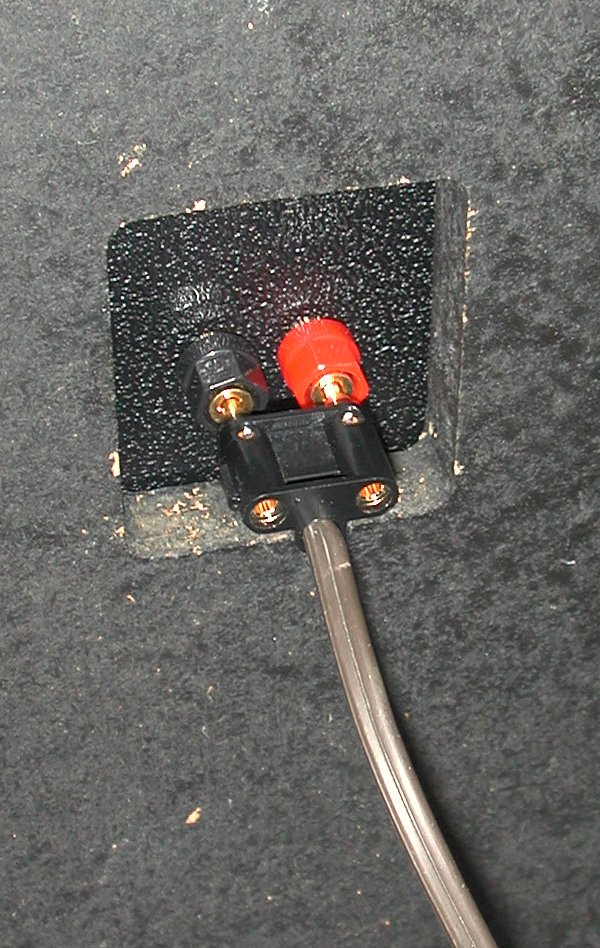 |
The photo on the right shows how easy it is to use dual (or single) banana plugs with these. They also accommodate: bare wire through the posts, pins through the posts, spade fittings around the posts (all with the nuts tightened down on them), and a fifth connection method I cannot remember at this very second. It's either putting banana plugs through the holes in the posts or just using alligator clips to quickly attach test leads (that is more of a lab use of them).
* * *
Top - Contact
New Speakers -
EPI and Epicure - Genesis Physics
© Copyright - All Rights Reserved
![]()
Seven Kelsey Road, Lee, New Hampshire 03861
Prices can change and specifications will improve without notice