The long-awaited HUMAN 81 DK is now available.
Best viewed in "landscape" mode.
How to:
Install Speaker Grill Cloth
Whether you are finishing off a home made speaker project, or dressing up some older speakers, these photos show how to get the grill cloth on the frame in a neat and attractive manner.
The glue I am using here is 3M 4693, a contact adhesive with about a one hour working time. It is available in 5 ounce tubes for under $20. 5 ounces will last you forever. (I buy it directly from 3M, five gallons at a time, but I use a lot of it!) I also recommend 3M "Super 77" which comes in spray cans (be very careful of overspray), and is readily available at retail outlets. Your choice might depend on what else you can use the glue for. These glues are very forgiving of failure - if you don't like the results, just tear off the cloth and start again.
A correspondent suggested applying a thin bead of hot melt glue, and then using an old iron after the cloth is laid on the cooled glue to make it stick. It seems to me that this could work well, and allows remelting to tweak the position of the cloth. I'd recommend practicing on some scrap before working on grill frames that aren't replaceable.
First lay out the frame on a properly cut piece of cloth.

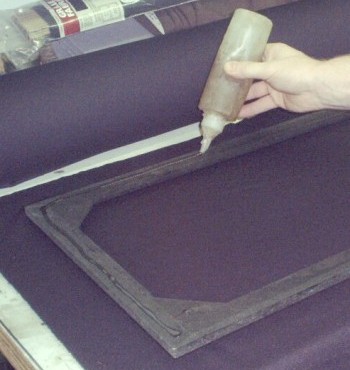 Then put a bead of glue all the way around the edge of the back of the frame.
A 10 cent "acid brush" makes a good disposable tool for spreading out the glue and keeping track of how tacky it is.
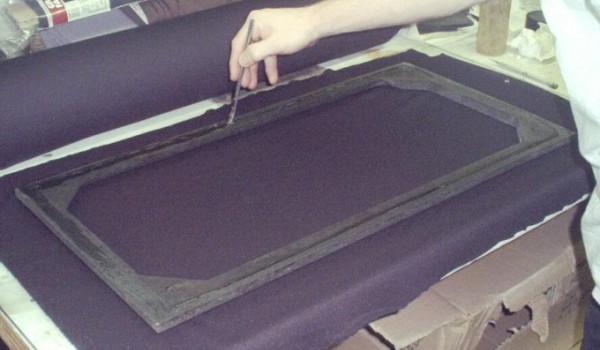
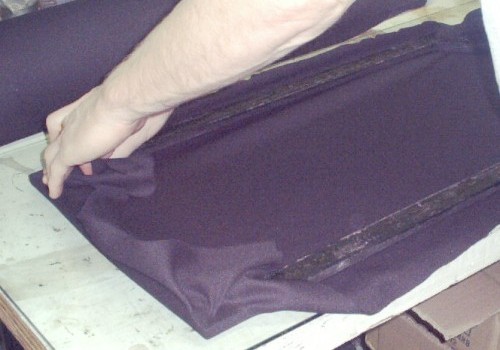
Pull corner #1 around the frame and set it into the glue. At this point, don't worry about getting the cloth to lay neatly on the frame edge:
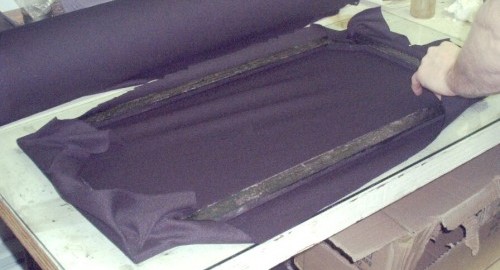
The opposite corner, #2. As you can see, there will be a big diagonal crease in the cloth at this point:
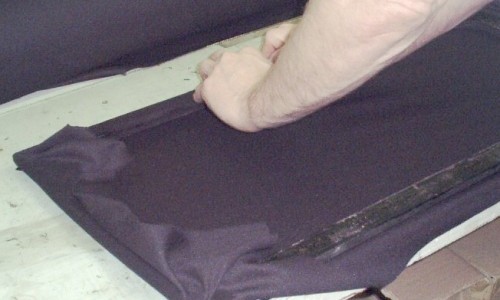
Corner #3 - the right amount of tension will remove most of the crease from the previous step:
Pulling corner #4 into place removes the rest of the diagonal crease and sets up the cloth for the detail work. The remaining crease is due to the side of the cloth pulling towards the center under tension, since it is not stretched and glued on to the side of the frame yet:
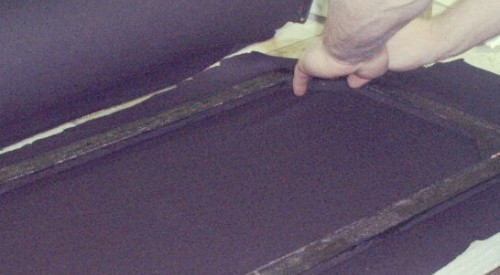
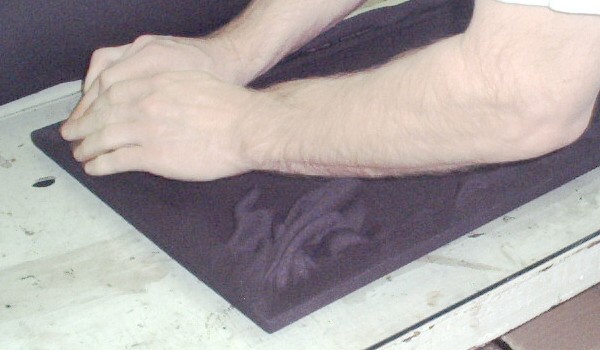
Gently pull the long sides around the edge of the grill and tack them in place. This nicely eliminates that tension crease seen in the previous photograph:
Do the same with the shorter sides. At this point the cloth should be neat and taut, without ripples or folds as it comes around the frame. Work with it and adjust it as you go, if necessary:
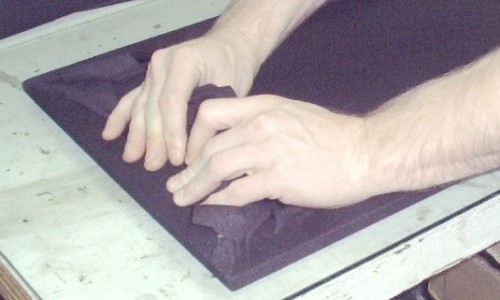
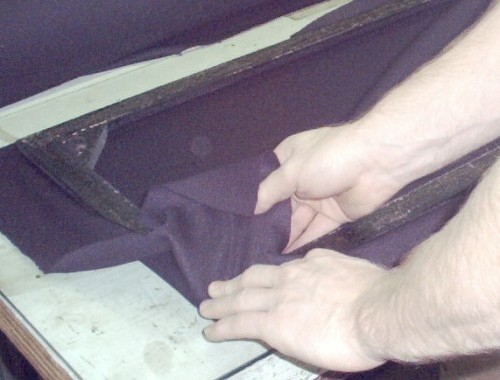
In the next two pictures, I am cleaning up the corners:

Take advantage of the "stretch" in the cloth to get it to lay pretty much flat for 3/4 of an inch or so on the frame. Pull it up a bit off the frame then pull it smooth while pushing it back into the still-tacky glue. There is a bit of an art to this step - but so long as there are no nasty welts running right to the corner of the frame it will be ok.
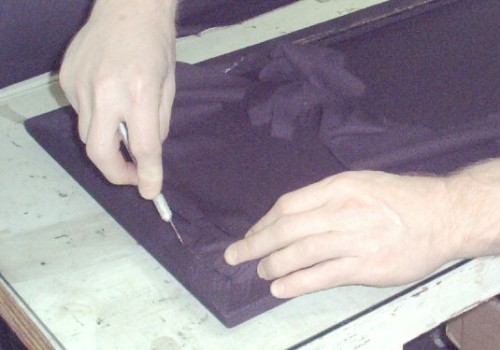
Satisfied with the lay of the cloth, and having pressed it into the glue with the butt of a tool handle (not shown), next cut off the excess with a nice sharp knife:
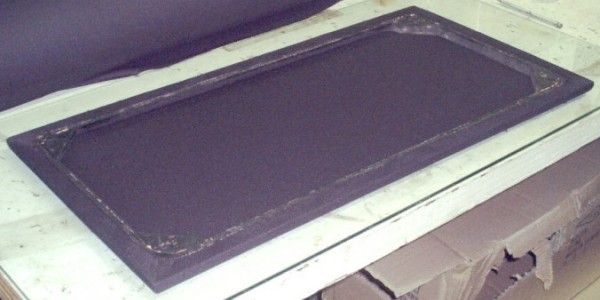
The cloth is neat, flat, pressed into the glue and trimmed:
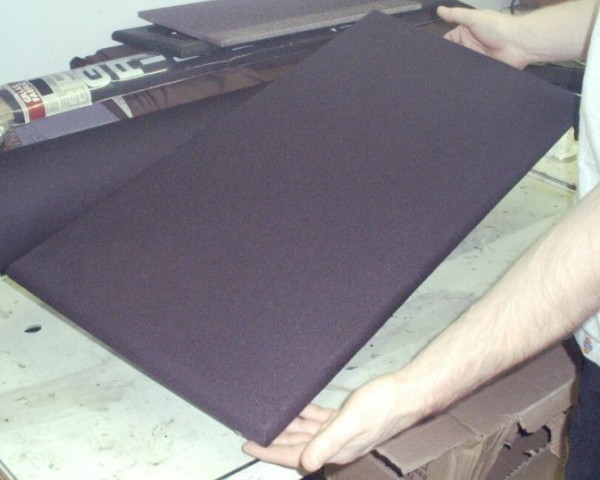
It's time to turn it over and examine the end product!
* * *
Top - Contact
New Speakers -
EPI and Epicure - Genesis Physics
© Copyright - All Rights Reserved
![]()
Seven Kelsey Road, Lee, New Hampshire 03861
Prices can change and specifications will improve without notice