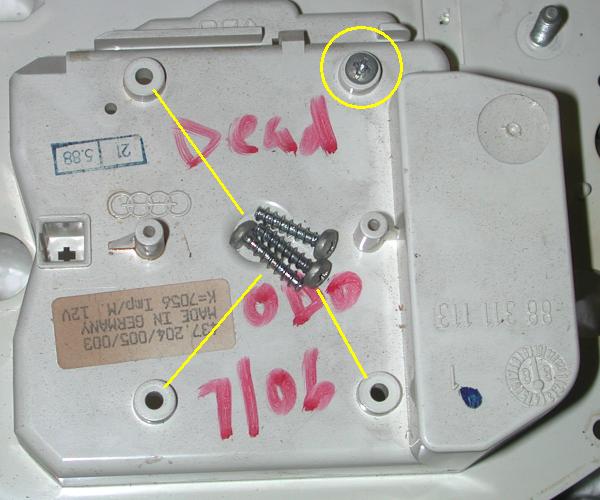
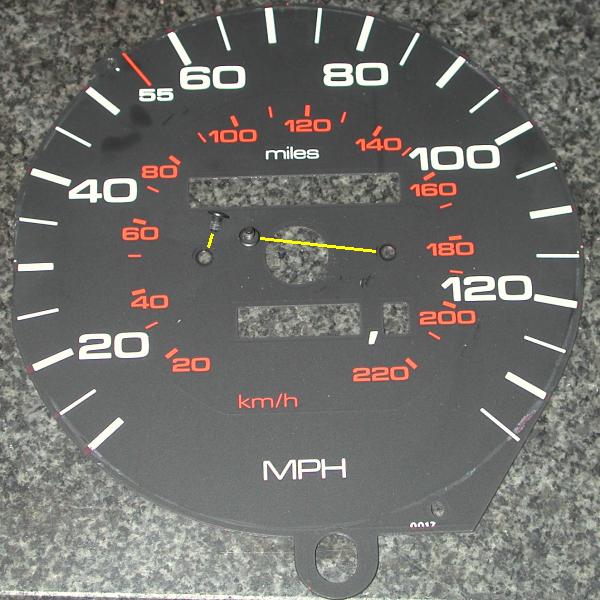
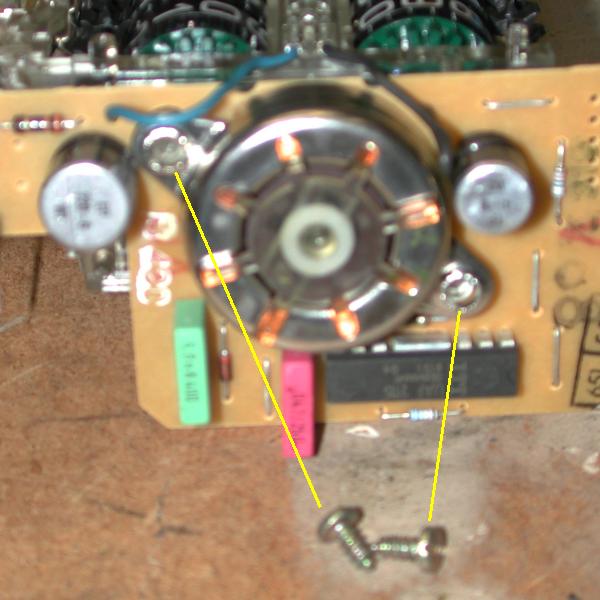
The trouble with cars that sport an engine that is typically good for upwards of 300,000 miles, is keeping track of those miles. At some point, the odds of the odometer not lasting as long as the car hit critical mass and you have to start keeping track of when to change the oil by how many tanks of gas you've used since the last one. Not an ideal situation. The earlier cars used mechanical speedometer cables, and the failure mode tended to be a small plastic gear on the odometer shaft that would crack slightly, enough to lose its grip on the shaft. The fix was usually to rough up the shaft a bit and/or add a tiny drop of superglue to make it work again, or give up. The later cars used an electronic sender on the transmission and nifty little high tech thingies in the instrument cluster to decode the signal and turn it into useful information for the driver, such as how fast you are going, and how far you have gone. My 1989 90 Quattro odometer gave out at about 280,000 miles, and I lived with it for a while before buying a used instrument cluster so I could swap in the working odometer. Although the replacement only showed about 120,000, it died after a few hundred miles. So I suppose age is also a factor. My project now became to resurrect the old, higher mileage unit, if possible, and correct its reading to catch up with all those interim tanks of gas. First, I wanted to see where the problem lay, so I had to set it up on the bench with a synthesized speedo signal. The unit has four connections going to it (after it has been excised from the instrument cluster), From the top, they are ground, speedo sender input, output to cruise control, and 12 volt supply. It turns out all you need is an audio oscillator to trigger the device (off site - new window). Thanks to Chris MIller for having this information archived, and another "audifan" for remembering where it was! So I ran some wires from place to place over my benches, hooked it up to 12 volts and ground, and started out with a low output from the oscillator (unamplified, using its 600 ohm output), at about 200 Hz. As I raised the output level bit by bit, the speedo needle sprang to life, and I could change its position by changing the frequency. With it "running", I started playing with the gizmo to see what might the matter be. I could feel the little stepper motor pulsing away, and even see it turning. 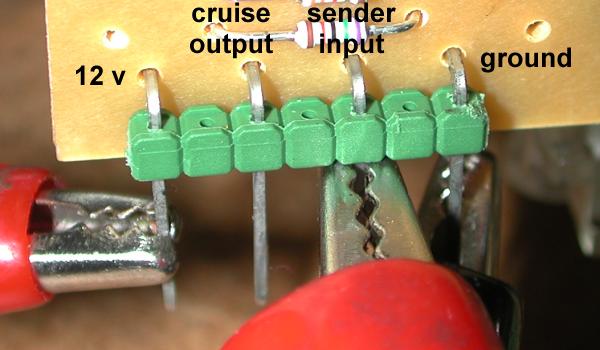 It did not work when I switched from a sine wave to a square wave, so I suspect the sender is simply a magnet, spun by the transmission, housed in a coil of wire. This generates a sine wave voltage signal. This design makes sense, from a simplicity and reliability perspective. So, I had to open things up to get at the guts to see what broked. Starting with a dismantled cluster, that is, having only the speedometer/fuel gauge module in my hands, here is the order of destruction. (Although there are a few small parts involved that you must be careful not to lose, at least there is no time when a bunch of bits suddenly fall out leaving you not knowing how they go back together. I hope the needle goes back on okay, though!) 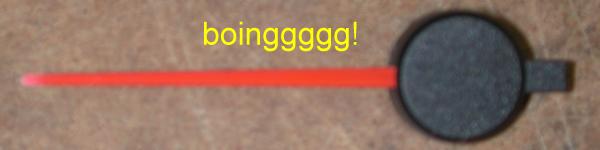
These photos are all linked to full size images:
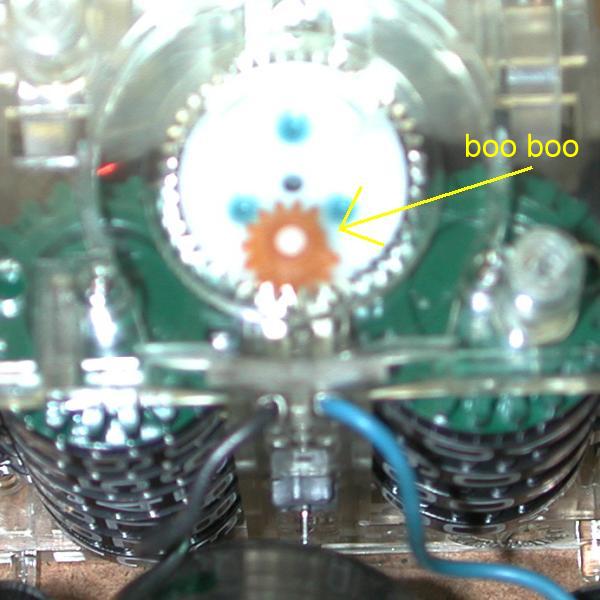
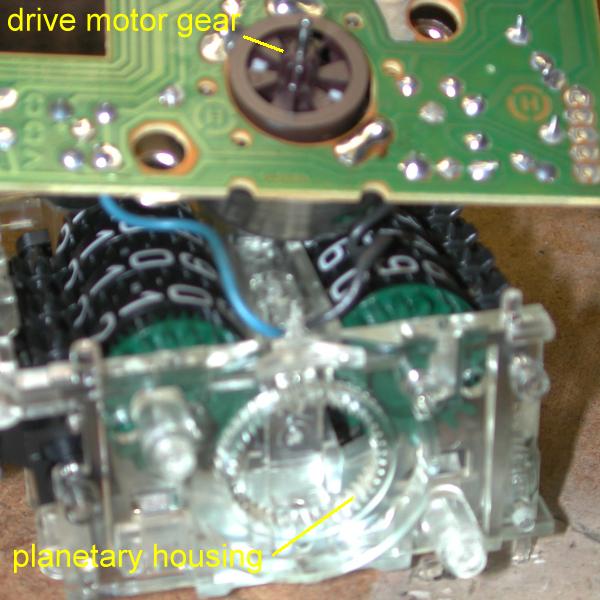
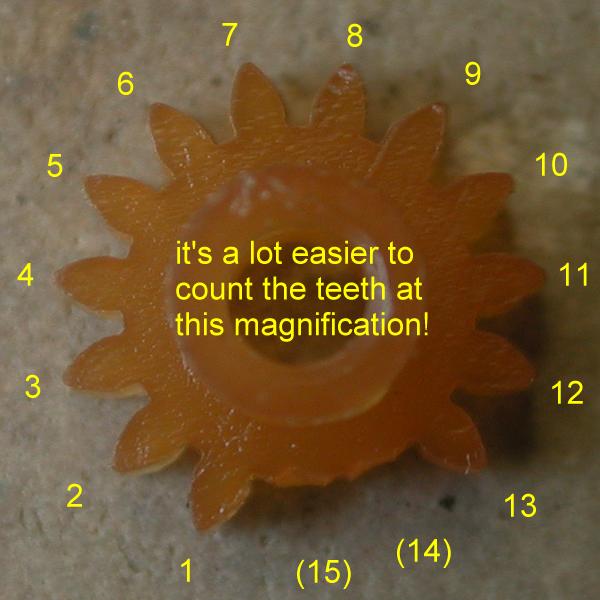
At this point, it was apparent where the defect lay - the small planetary gear driven by the stepper motor, in a fixed "inside toothed" gear, was missing a couple of teeth.
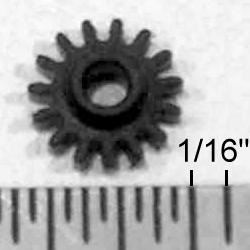
As yet another audifan pointed out, make sure to remove any bits of broken gear so they don't gum up the works after the repair. I ordered my gear over the weekend, and it arrived on Thursday. I think it's Thursday. Anyway, here it be next to the 'plegic one: 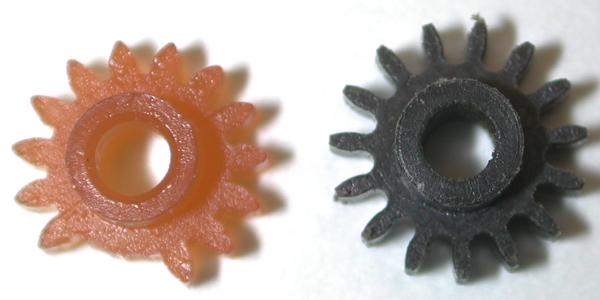 Now it was time to carefully reassemble all these bits. Here is the new planetary gear back on its hub, which is part of the white gear, meshed inside the ring gear molded into the clear bezel housing. It is driven by the stepper motor gear which sets in the center of the white gear. 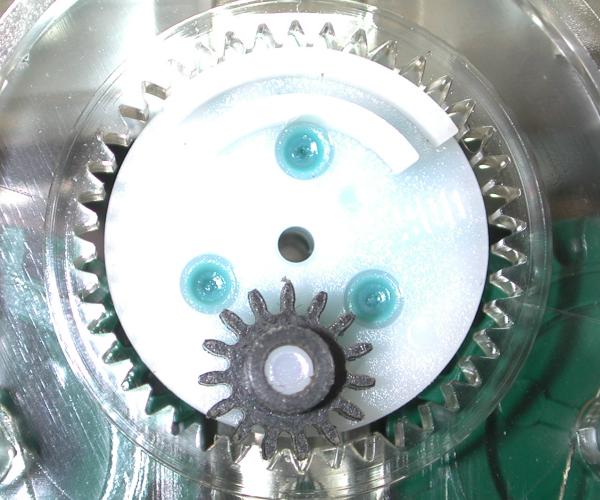 I tested the functionality at each stage in case I goofed something up: 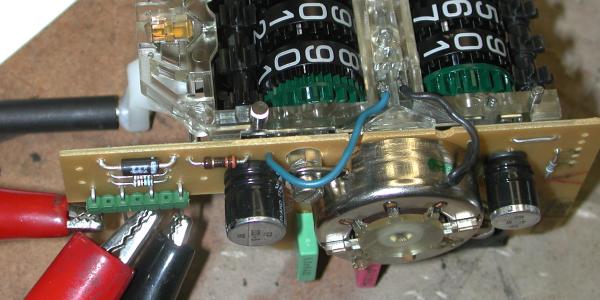 And, finally, with the assembly all but ready to go back into the instrument cluster and start counting up oil and timing belt changes again, here I am trying to decide whether to run it up 9000 miles to the 285,000 or so it should be at these days. At 120 mph (approx 240 Hz) this will take until Sunday evening. Hmmmmm. 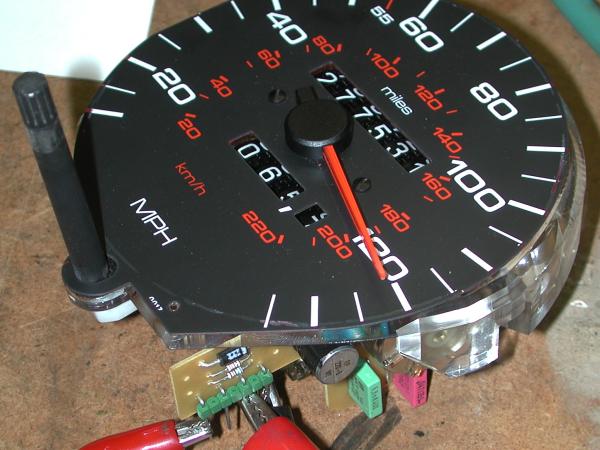 |